
Mehndi Designs For Kids – Methods, Features, And More
Last Updated: May 22, 2026
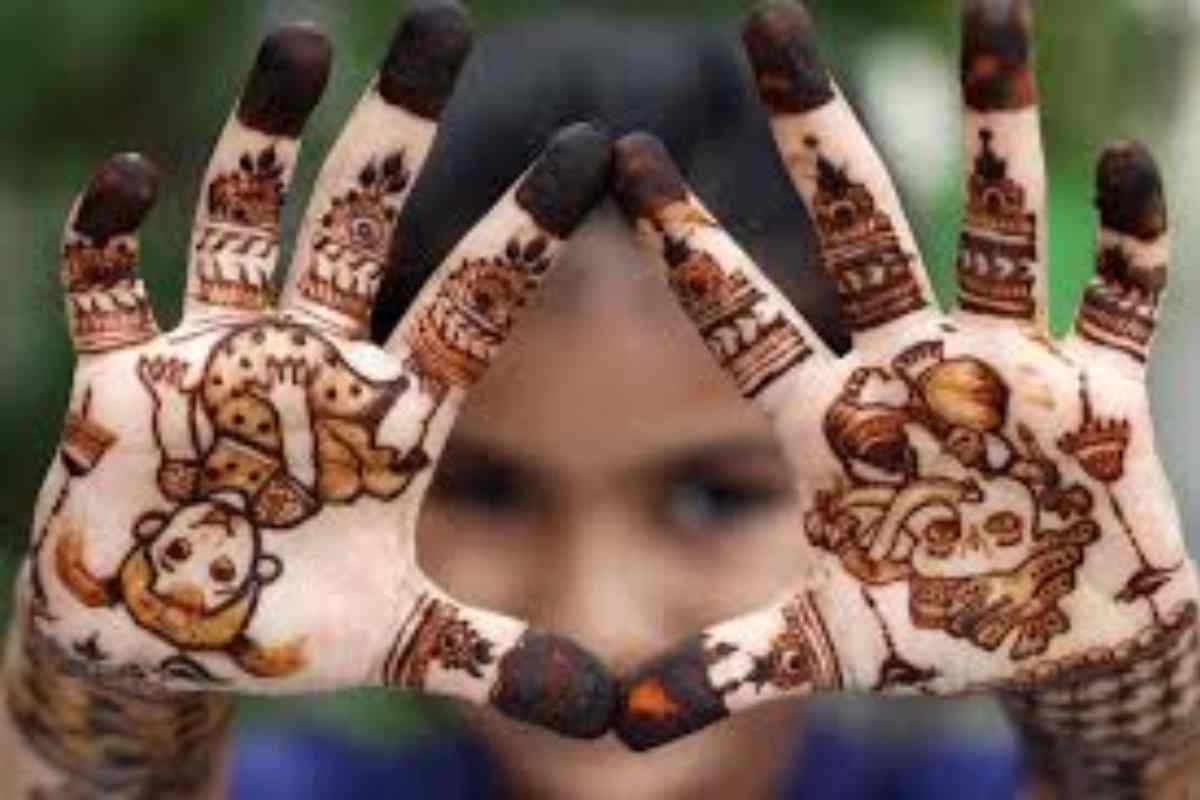
Mehndi Designs For Kids – We are used to imagining Mehndi as an elaborate design, full of cultural traditions in the form of patterns that adorn art, magnificence of occasion and deep meaning. but in the case of children, particularly in the colorful cultural environments of such locations as India and Africa, Mehndi has a different but no less powerful purpose. It becomes an artery not just to tradition but also to narratives, to the imagination and to the creativity. The uncomplicated Mehndi patterns in children particularly the back of their hands take them to their past and evoke curiosity in the present.
Mehndi, also known as henna, is an age-old art that is traditional and fun. As far as children are concerned, it is the best method to learn to live quite creatively and explore the cultural traditions. Simple mehndi designs make it possible to decorate the hands of amateur beauties within minutes. Be it during a festive celebration or merely fun, mehndi has gained popularity the world over as it is not only pain-free, but temporary as well. Options are unlimited, including flowers to butterflies, and any kid will love them. Are you willing to change the backhand of your child? Let’s begin!
The Necessary Techniques and Materials of Basic Mehndi Patterns
There are a couple of tips that one should follow, as well as the right tools and other supplies, to make the process successful before beginning simple mehndi designs. Some of the important aspects in your setup are kid-friendly mehndi cones, a clean towel, and an appropriate area. To make this fun and not stressful, attention should be paid to creating an atmosphere of relaxation.
Also, be sure to have your child wash his or her hands and dry them. It will be beneficial to train complex designs using simple forms such as swirls and dots in advance to master those intricate patterns. To find out about safety and starter patterns, stay tuned!
The Preference for Safe and Child-Friendly Mehndi Cones
Healthy and imaginative practice involves locating the right mehndi cone. Choose the cones that do not contain any chemicals or artificial coloring, but use only the natural henna, as it is very kind to sensitive children’s skin. When selecting foods, aim at finding those that were labeled as either organic or kid-friendly explicitly.”
In any case, shop without the cones with additives such as PPD or artificial colors. In case of doubt, apply the cone to a small area of skin and then apply it completely in case there is no adverse reaction. The first step to ensuring a nice mehndi experience is choosing safe products.
Getting your Child ready to use their hands
To have a clean execution of the basic mehndi designs, follow the precedence step of washing your child’s hands using warm water and soap. Wipe the hand properly to dry up any remaining water, which may alter the ability of henna to attach itself to the skin.
Secondly, dead cells on the skin can be loosened by applying a soft towel, and this will give the skin a smooth layer to put on. Conditioning the hair with a natural oil like coconut or olive during mehndi will bring a good color pay-off, as the color will last long.
It is also important to create an accommodating and casual atmosphere. Put a napkin or a towel under the hand to avoid making a mess. To make it fun, involve your child in the process, maybe allow him or her to select his or her favorite designs!
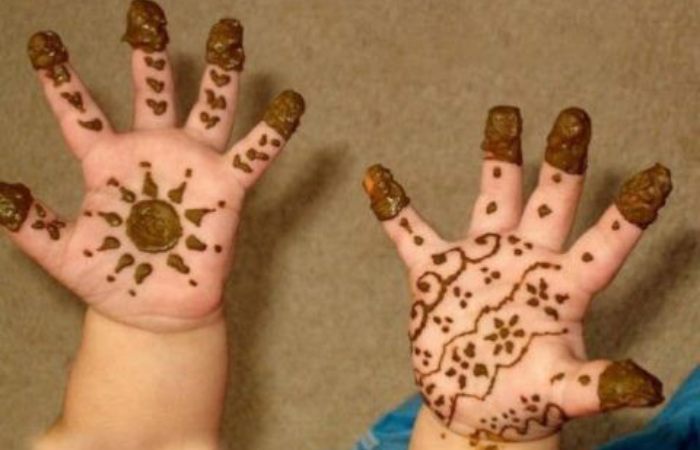
Common Starter Patterns to Start with
In case of teaching children simple mehndi designs, then use simple but cute trial patterns. The designs enable novices to become confident as they learn the foundation techniques.
Florals: give the back of the hand a natural and appealing look by bending of little circle-shaped flower or petals on the back of the hand.
Butterflies: A basic butterfly with swirl is a whimsy, which is ideal among children.
Hearts: Small and intricate hearts are sweet and simple to draw.
How to Draw Very Easy Mehndi Designs Step by Step?
Creating beautiful, simple mehndi designs is not that difficult, and a little tricky, which can be easily done by following step-by-step instructions and with a lot of practice. Begin by organizing your supplies and creating an ergonomic position that is comfortable for your child. Plan out of time by practicing simple designs such as dots, swirls, and flowers, doing it with henna cones.
After ensuring that the familiarity is in place, give the designs an outline and fillings to enhance the appearance. Properly dried mehndi will produce a bright color, which will last long. Are you set to move on? Let us simplify it down below for absolute beginners!
Basic forms in practice, such as Dots, Swirls, and flowers.
Basic shapes also form the foundation for making simple mehndi designs perfectly. Start with dots, which are the basis of numerous patterns. Swirls are another simple design that can be applied to fingers or hands to make them look more sophisticated.
Shapes can become small blossoms of the flowers, a simple but remarkable design! These can also be practiced by mehndi virgins on scraps of paper or even dermatological skin to enhance the confidence of the first-time artist.
The beauty of these simple shapes is their versatility. Once mastered, they pave the way toward crafting more intricate designs, making mehndi an art that kids look forward to.
Draw a Simple Outline on the Back of the Hand
Once comfortable with basic shapes, the next step is outlining designs thoughtfully. Using henna, lightly draw a guide on the back of your child’s hand. Focus on simplicity—start with a flower or a small heart.
Avoid over-complicating designs at this stage. Keep lines thin and crisp to make the process manageable for beginners. Outlining helps map patterns and prevents errors during filling.
Encourage your child to actively engage in the design choice, adding their personal touch to their mehndi pattern. Outlining is only the beginning; let’s dive into filling in details next.
Fill in Patterns and Add Details
Filling in patterns brings designs to life. For those practicing simple mehndi designs, focus on gentle and steady strokes. Start by completing one flower before moving to other areas.
Adding swirls, dots, or tiny leaves enhances the design’s intricacy without overwhelming the overall look. Glitter mehndi cones can be used for a pop of color and added flair, especially when creating patterns like butterflies.
Maintaining steady hands ensures precision, so take breaks if needed. With your design complete, all that’s left is drying and aftercare, coming up next!
Allow Mehndi to Dry and Care for Long-Lasting Color
Drying mehndi properly guarantees vibrant, long-lasting results. The paste should remain untouched for at least 4-5 hours for optimal color, though longer durations bring deeper hues.
Apply a natural oil such as lemon-sugar syrup to the dried henna; this serves as a seal to intensify its shade. Ensure your child’s hand is kept away from water for the first 24 hours.
For removal, allow the mehndi to flake off naturally instead of washing immediately. Proper care ensures your child enjoys their simple mehndi design for as long as possible!
Conclusion
Designing basic kids’ mehndi is quite pleasant and rewarding, and it is possible to be quite creatively safe. Selecting materials that are easy to work with and doing simple patterns, you not only involve your child in an entertaining process but also make them appreciate this type of art. Since you are taking good care of them as you slowly take them step by step through the process of preparation, application, and care, you make lasting memories that connect you both. Then again, do not forget that patience and practice are the only way to learn these designs well.